
Packing and transporting artwork may not seem a tedious process if you did the simple things right. Here are 6 tips to follow.
Make Sure Your Boxes are the Perfect Size
The first rule is to make sure you have boxes of the perfect size to pack your artwork in. However, first, you need to make sure you sort your artwork according to size. When it comes to paintings for instance, you will first decide whether you will pack them individually or a few together depending on the size differences.
Either way, you would want to get boxes that are slightly bigger than the frame. It is always best to get specialty boxes so you are guaranteed safety of your products. It also spares you a lot of time and hassle during the whole packaging process. Look for a reliable company where you can order your artwork shipping boxes at reasonable rates.
Use Tape on Glass Covers
If your frames have a class top or cover, you might want to use masking tape to create a large ‘X’ across it so the glass would not move too much during transportation. It may also prevent the glass from shattering completely in case of an accident. Basically, the ‘x’ should help keep the glass in place and prevent it from major damage.
Cover the Face of Your Artwork
In the case where your artwork does not have a glass cover, you would make sure you cover the face with some good plastic wrap. You can even use regular food wrap used in the kitchen for this purpose. Make sure you make several layers of it so there is enough protection which your artwork is going to need especially during transit. You could also opt for special palette wrap that is available at the stores if you think it’s a better option.
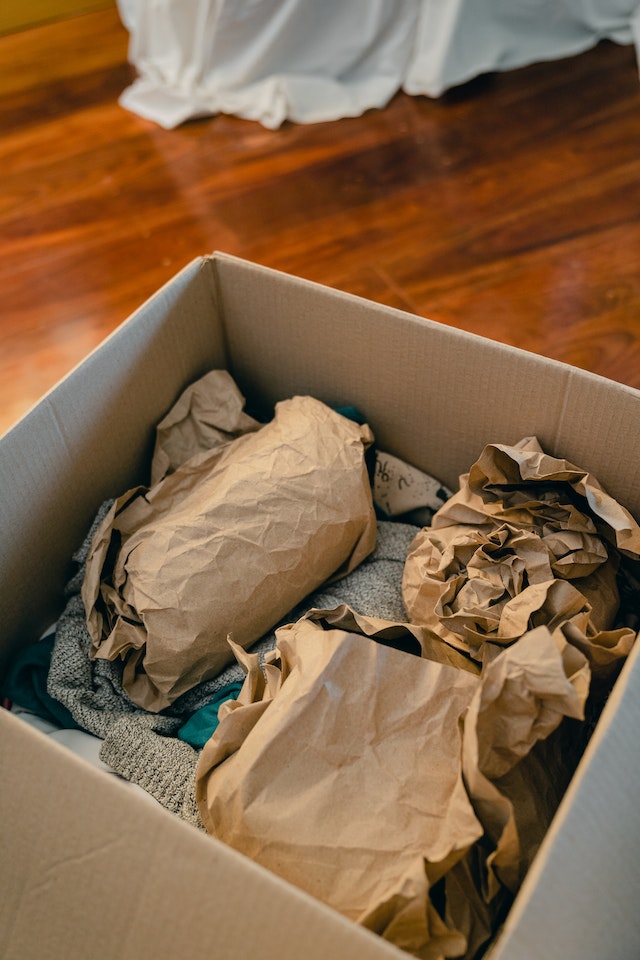
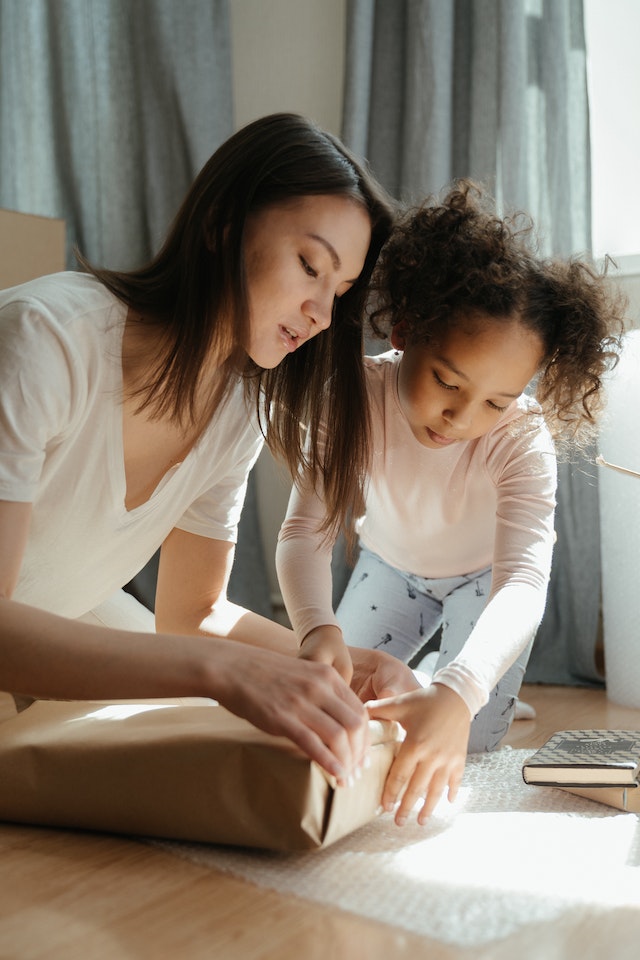
Use Paper and Bubble Wrap
Plain brown paper might be ideal when you want to do the final wrapping of your artwork. Make sure you avoid newspapers at any cost. They may seem great for protection, but might leave stains on your artwork. Use plain brown paper instead to wrap your artwork in a gift-wrapping style – you might want to check out tutorials on quick, easy, and cost-effective wrapping. Finish up with layers of bubble wrap, making sure the bubbles are pointing outwards and not touching the surfaces of your artwork.
Seal the Box
If you are using specialty boxes to pack your artwork in, you would want to make sure that all sides are thoroughly taped. Use extra tape if you wish. Do not hesitate to get someone to give you a hand. They’d need to hold the box for you so you can slowly slide the item into it. Once this part is done, you can then firmly seal the open end of the box. Make sure you’ve got plenty of good quality tape so you wouldn’t have to halt the process half way through.
Mark the Boxes
Lastly, make sure you’ve put large markings on each box. Label each of them ‘fragile’ and specify the location, such as ‘living’ or ‘dining’ wherever applicable. These little things should simplify the whole process and spare you time and hassle altogether.


